使用 Analog.js 建立 Blog
在先前的文章中,我曾介紹過如何使用 Scully.js 來建置自己的技術 Blog。然而沒想到自 2023 年起,Scully.js 突然停止了維護,導致它無法支援 Angular 15 之後的版本。我花了不少時間尋找替代方案,最終發現了專為 Angular 打造的 Meta-Framework —— Analog.js。這篇文章就來分享我將 Blog 遷移到 Analog.js 的心得。
建立 Blog 專案
我之所以選擇 Analog.js,主要是看中它的兩大核心特性:File-based Routing(檔案系統路由) 與 Static Site Generation(SSG,靜態網站生成)。 對個人 Blog 來說,架構越單純俐落越好,因此開箱即用的 File-based Routing 非常合適;而在部署方面,我也希望如以往使用 Scully.js 時一樣,將網站預先打包為純靜態頁面,而 Analog.js 原生就對此提供極佳的支援。
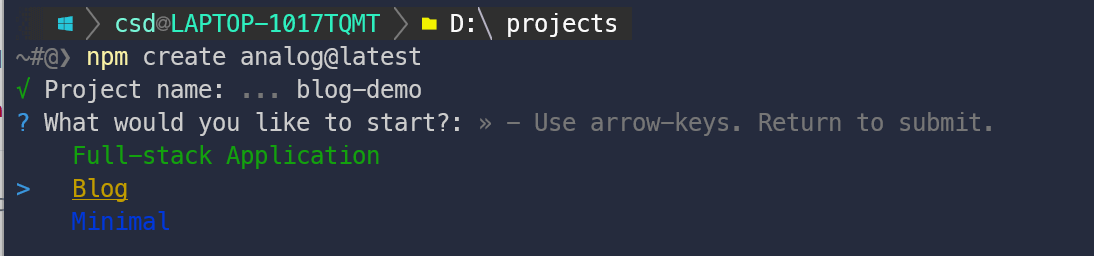
建立專案非常簡單,參考官網的 Getting Started 指引,執行下列指令即可:
npm create analog@latest
首先選擇 Blog 樣版
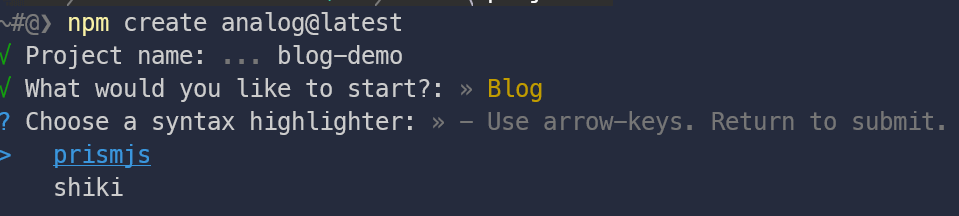
接下來選擇 prism.js 來做為程式的著色器
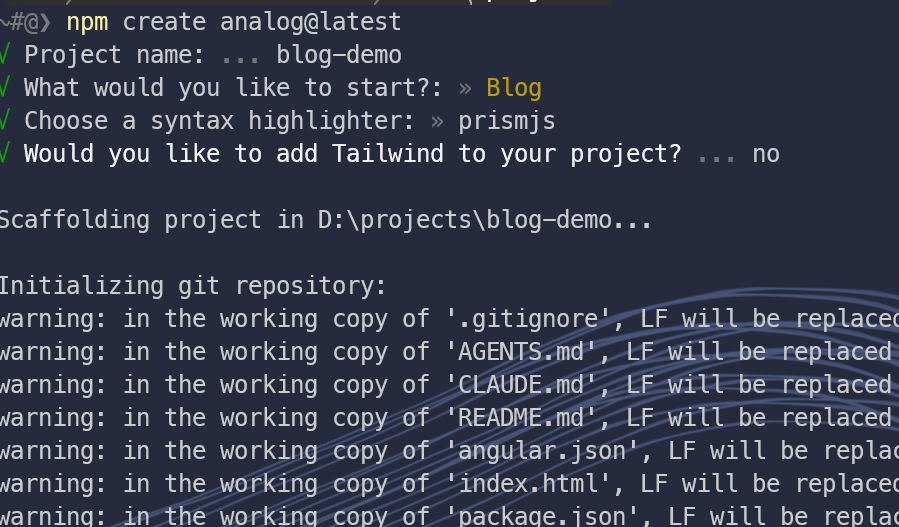
完成後,基礎的 Blog 骨架就建立就緒了。
架構
Analog.js 採用 File-based Routing,所有的頁面組件都統一放置在 src/app/pages 目錄下。以文章詳情頁面為例,預設路由規則對應於 /blog/,其中 [slug].page.ts 負責解析路徑參數並呈現對應的文章內容:
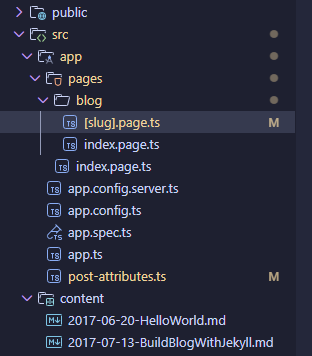
import { Component } from '@angular/core';
import { AsyncPipe } from '@angular/common';
import { injectContent, MarkdownComponent } from '@analogjs/content';
import PostAttributes from '../../post-attributes';

@Component({
  selector: 'app-blog-post',
  imports: [AsyncPipe, MarkdownComponent],
  template: `
    @if (post$ | async; as post) {
    <article>
      <img class="post__image" [src]="post.attributes.bgImageUrl" />
      <analog-markdown [content]="post.content" />
    </article>
    }
  `,
  styles: `
    .post__image {
      max-height: 40vh;
    }
  `,
})
export class BlogPostComponent {
  readonly post$ = injectContent<PostAttributes>('slug');
}
所有的 Markdown 文章都統一存放在 src/content 目錄中。我們可以在文章開頭使用 YAML Frontmatter 來定義自訂欄位,例如封面圖片 bgImageUrl,在 [slug].page.ts 中,就能直接透過 post.attributes.bgImageUrl 取得 Frontmatter 定義的值。
title: 使用 Analog.js 建立 Blog
bgImageUrl: /images/36/36-00.jpg
description: 選擇 Analog.js,主要是看中它的兩大核心特性:File-based Routing...
slug: 2026-09-26-analog-js-blog
tags: ['Angular']
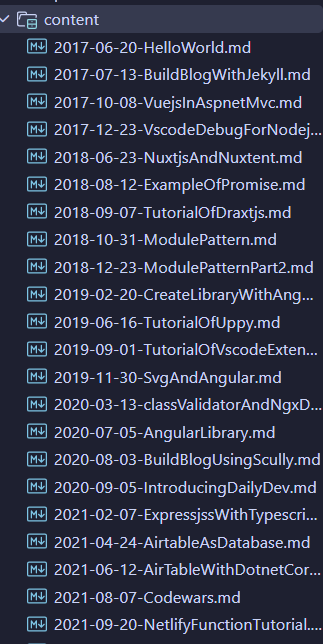
文章內容則統一放在 src/content 目錄下。
相關設定
import { defineConfig } from 'vite';
import analog, { type PrerenderContentFile } from '@analogjs/platform';

// https://vitejs.dev/config/
export default defineConfig(({ mode }) => ({
  plugins: [
    analog({
      static: true,
      content: {
        highlighter: 'prism',
        prismOptions: {
          additionalLangs: ['csharp'],
        },
      },
      prerender: {
        routes: [
          '/',
          '/blog',
          '/api/rss.xml',
          {
            contentDir: 'src/content',
            transform: (file: PrerenderContentFile) => {
              const slug = file.attributes['slug'];
              return `/blog/${slug}`;
            },
          },
          '/about',
          },
        ],
      },
    }),
  ],

}));
Analog.js 的核心設定位於 vite.config.ts 中,透過 Vite Plugin 的方式進行無縫整合。目前我的專案主要配置了兩項重點:指定語法著色器使用 Prism.js(並擴充 C# 語法支援),以及設定靜態輸出時要預先產生的路由。
使用AI
以前製作 Blog 網站時,我通常會尋找現成範本套用,缺點是自訂性比較有限。由於我本身是程式開發出身,對 CSS 並不熟悉,因此這次重新製作 Blog 時,改用 AI 協助調整整個網站的樣式,最後呈現出較簡單、現代的風格。
結論
由於 Scully.js 停止維護,這算是我第 4 次為自己的 Blog「搬家」。藉由這次導入 Analog.js,不僅順利銜接至現代化的 Angular 生態系,也順便借助 AI 將整個部落格的介面與體驗全面翻新。